
Microduck getting started: the first hour with your robot
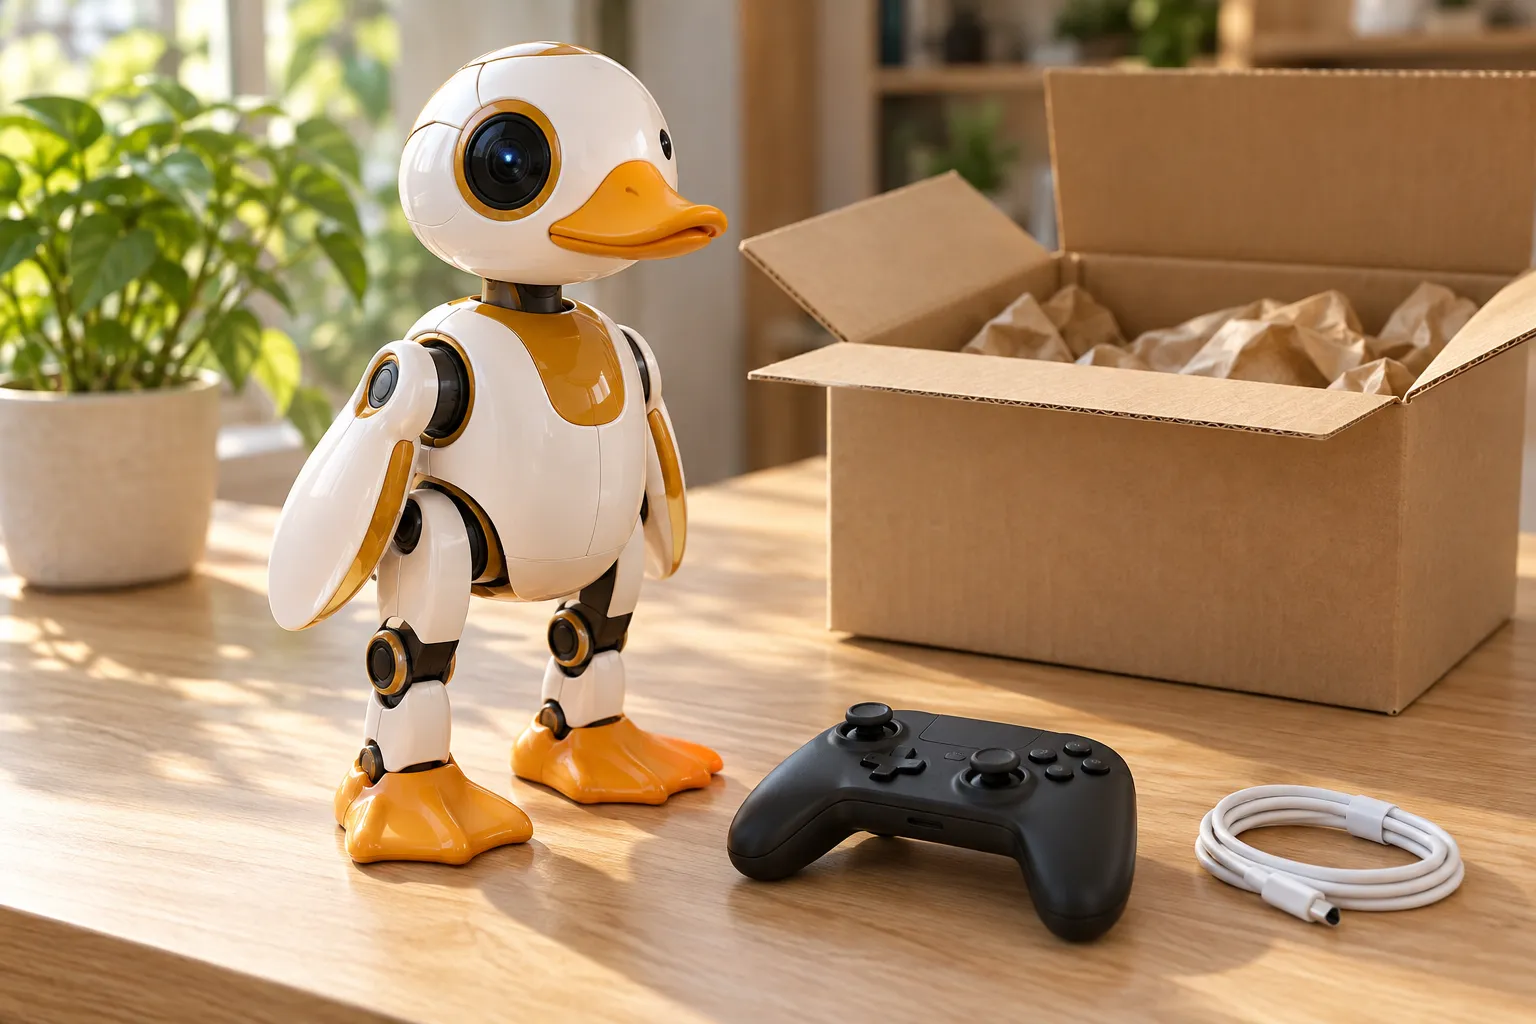
The Microduck is built so the first hour needs nothing but the box it arrives in: no app to install, no laptop required, no documented assembly step. This guide is the walkthrough - what is in the box, the order to do things in, and the moment to graduate from the controller to Python. If your duck has not arrived yet, every step here works in the browser simulator today.
What is in the box
One purchase, nothing required afterwards:
- The Microduck robot, in your colourway (Cream, Graphite, Lavender or Sky).
- A rechargeable battery and a USB-C cable for charging and connecting.
- A game controller, with the drive-out-of-the-box workflow pre-paired.
- The seven trained moves, installed and ready to drive.
- Access to the open-source SDK, simulator and training stack.
The specs page lists all of it precisely; the optional packs (compared here) are exactly that - optional.
Step 1 - charge it
Connect the battery over the USB-C cable in the box. This is also a good moment to choose where the duck will live: a desk or table is the classic first home. It is a walking robot, so give it a surface with a little room - and keep one hand near the edge the first time.
Step 2 - power on and meet the controller
Turn the robot on and pick up the controller. The shipped workflow is intentional: you drive Microduck before you program it. Push a stick and the walking policy takes over - the balance is handled on the robot itself, at 50 Hz, not by anything you are holding.
Step 3 - the seven moves, in the order people try them
- Walking - steer it around the desk first; this is the move everything else is built on.
- Turning - turns in place, at speed.
- Kicking - with the ball from the play set.
- Grabbing - it dips its beak, scoops and stands back up.
- Sitting and standing - a sit-down, a held pose and a clean stand back up.
- Standing up - knock it flat and watch it recover; this is the move that makes owners grin.
- Driving (roller mode) - with rollers clipped on, it skates.
The moves page goes deep on what each one actually is - seven reinforcement-learning policies, each one retrainable.
Step 4 - meet the simulator (optional, recommended)
The fastest way to understand what you just watched is the browser simulator: the same robot as software, free, no setup. It is also where you can play with the robot before yours arrives - and where every serious owner eventually ends up, because training happens there.
Step 5 - your first Python session
When the driving novelty wears off, the second act starts. The robot is programmed from Python and the stack is open source:
- Start with the first Python session guide - what the SDK exposes and how to connect.
- The source is public at github.com/pollen-robotics/microduck:
git cloneand read along. - The documentation covers the SDK, the simulator and the training stack together.
- When you are ready to train your own move, the training guide is the path the shipped moves took.
Common first-hour questions
Do I need to install an app? No. The controller drives it out of the box, and programming happens from Python on a computer when you want to go further.
Does it need Wi-Fi or an account to work? The duck is a stand-alone robot - the seven moves run onboard at 50 Hz. The network side is for development and updates; the docs cover it.
What if something wobbles? Policies are state-of-the-art, not magic: floors, rugs and desk edges all push back. The first hour is exactly when to learn what your surface does to the walk - and in simulation you can break a policy a thousand times for free.
What do I do with it after the first week? The projects page has twelve directions, from desk-pet routines to training your own policies.
Where do I ask when something is wrong with an order? support@microduck.homes, order number to hand - the FAQ covers the rest.
Where to go next
- Microduck moves - the seven behaviours explained
- Coding Microduck - your first Python session
- How to train Microduck - the RL workflow from sim to robot
- Pre-order Microduck - $399 before taxes and shipping